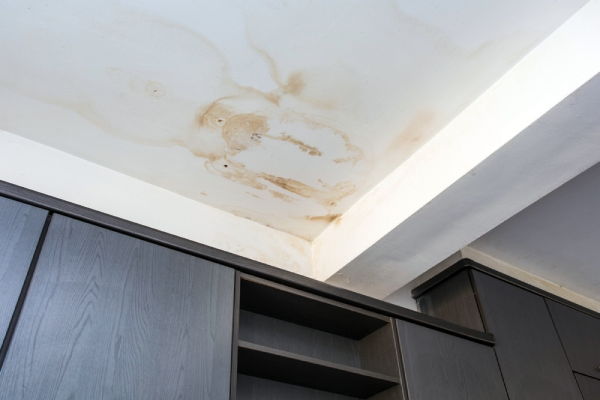
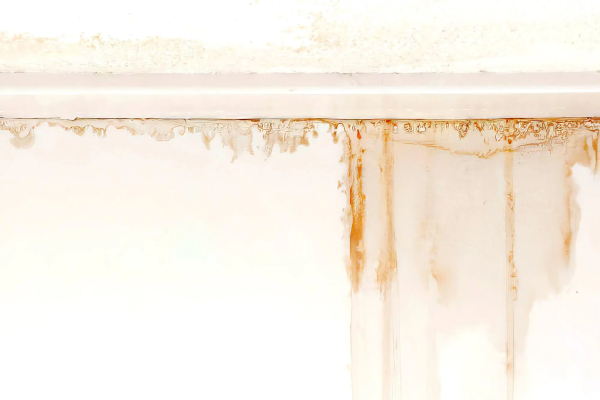
Water damage can sneak up on any homeowner, and when it does, it leaves behind more than just damp drywall or flooring. It often leaves an obvious reminder in the form of yellowish-brown stains on your walls. These stains aren’t just ugly; they’re a signal that water found its way where it shouldn’t be. If you walk into a room and notice discolored patches on the ceiling or down the wall, it is time for serious action. No matter if it’s from a leaky pipe, a stormy roof, or even indoor condensation, water stains are a problem. In this article, we’ll have a good look at the reasons for water stains, along with how to remove water stains from walls in the proper way, step by step. We’ll also cover when it’s time to call in professional help, especially if you’re in an area like Vancouver, where water issues can be frequent due to the climate.
What Causes Water Stains on Walls?
Before exploring how to remove water damage stains from walls, let’s investigate their causes. Water stains can be caused by a number of different things, and finding the cause is just as important as taking out the actual stain. If you do not know the causes, the problem will just keep happening over and over again, no matter how many times you repaint. Some of the most probable causes include:
- Leaky plumbing
Sometimes, the pipes behind your walls or in the ceiling develop small leaks. These leaks are unnoticed for a while, but the water slowly seeps into the drywall and finally shows up as an ugly stain. - A leaking roof
A damaged or worn-out roof can let rainwater sneak inside. That water makes its way downward and often settles around the edges of ceilings or walls and creates visible discoloration. - Heavy rain or flooding
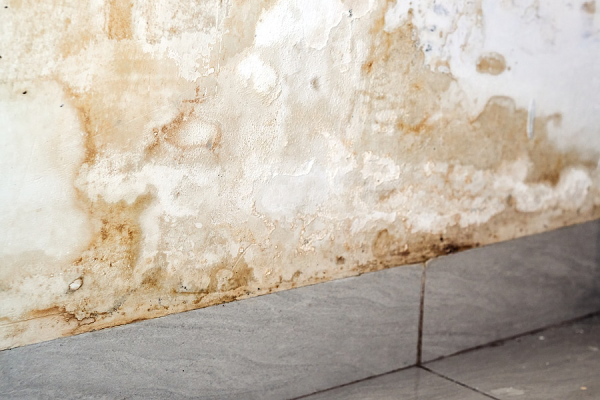
If your basement or lower floors take in water during a big storm, some of that moisture can get trapped in the walls. Once it dries, it often leaves behind a noticeable stain. So you should remove water stains from the walls. - Too much moisture in the air
Bathrooms, laundry rooms, and basements are naturally humid. If there’s poor ventilation, condensation can collect on the walls. Over time, this moisture leaves behind watermarks or mold spots. - Problems with your air conditioner or HVAC system
When your AC or HVAC system isn’t working properly or wasn’t installed quite right, it might slowly leak water. That moisture can soak into the wall and cause staining before you even notice a problem.
No matter what the reason, when you see the water damage signs, it’s time to do something about it fast.
Why You Should Never Ignore Water Stains
Even if the stains seem small, they may be a sign of a greater problem waiting behind the walls. As time passes, water that is trapped behind walls can lead to mold, structural decay, or warped materials. What begins as a simple yellow stain could become much more expensive and dangerous if you do not treat it.
Step-by-Step Guide: How to Remove Water Stains from Walls
So, you’ve repaired the leak or at least you think you have, and now you’re left with a stain that just won’t go away. Let’s understand how to remove water stains from walls correctly:
Step 1: Locate and Fix the Water Source
Before cleaning, painting, or scrubbing, stop and ask: Where did this water come from? Inspect the area thoroughly or invite a plumber or roofer to assess the situation. Fixing the underlying issue isn’t optional. If you do not do it, the stains will return, and you’ll be stuck in a frustrating cycle.
Step 2: Let the Wall Dry Completely
When you fix the leak, it’s time to let the wall breathe. Drying may be a day or several days, depending on how wet it got. Be patient and let the walls dry completely. Some of the tools that help are:
- Fans or air movers
- Dehumidifiers
- Open windows for ventilation (if weather allows)
- Space heaters for extra drying power (set safely)
Step 3: Clean the Surface
After the walls dried, start removing the stain. There are many ways to remove water stains from walls, and the method that you use depends on the wall surface (papered, plastered, or painted drywall).
- For Painted Walls:
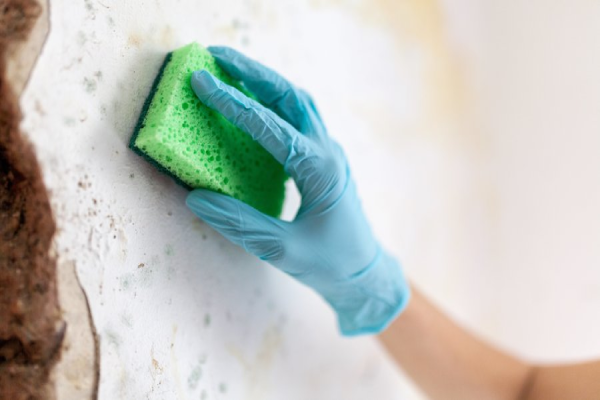
Combine mild dish soap and warm water in a bucket. Then dip a sponge into the solution, wring it out, and clean the affected area gently. At the end, rinse with water and blot dry with a towel. If you still see the stain, combine equal parts water and vinegar. Vinegar breaks down mineral deposits.
- For Tougher Stains:
It is a good suggestion to make a paste of baking soda and water to remove water stains from walls. Apply it to stain, let sit for 10 minutes, then scrub gently and rinse.
- For Wallpaper:
This needs a bit more care. Use a lightly dampened sponge; don’t wet the paper. If it’s not washable wallpaper, you should replace the stained section completely.
Step 4: Prime with a Stain-Blocking Primer
Even if you remove water stains from walls, don’t skip this step. Water stains can bleed through paint finally. Seal the area with a stain-blocking primer and begin with a clean slate. Here are some recommended products:
- Zinsser B-I-N Primer
- Kilz Original Primer
Brush or roll on and allow to dry completely. If covering especially stubborn stains, apply a second coat.
Step 5: Repaint the Area
Now that you have cleaned and primed your wall, it’s time to paint. Match the color as closely as possible or repaint the entire wall for a seamless finish. If you live in a damp climate or the room isn’t ventilated, try using moisture-resistant or mold-resistant paint to help defend against issues.
Natural Cleaning Alternatives to Remove Water Stains from Walls
If you prefer green or homemade remedies to remove water stains from walls, try these:
- Hydrogen Peroxide (3%): Directly apply to the stain with a cloth and let it stand. It will be safe on most walls and slightly bleaching.
- Lemon Juice and Salt Paste: It is great for natural bleaching. Apply, wait, and wipe off.
- Magic Eraser: Use it cautiously. It is effective, but it can dull the paint finish on your wall.
When to Call in the Professionals
Sometimes, despite your best efforts to remove water stains from walls, the problem is bigger than you realize. If you see any of the following, it’s time to call in a professional restoration company:
- The stain keeps coming back
- The wall is soft, buckled, or smells of mildew
- You see mold or mildew
- You can’t find the source of the moisture
Restoration Services in Vancouver: What to Expect
Living in Vancouver means dealing with rain and moisture. Homes here are especially vulnerable to water damage from storms, roof leaks, or old plumbing. If you need expert support, water restoration services in North Vancouver are just a call away. What restoration companies offer include:
- Moisture detection and leak tracing
- Water extraction and drying
- Mold assessment and remediation
- Professional stain and odor removal
- Complete wall restoration and repainting
- Help with insurance claims
Conclusion
Water stains aren’t just annoying, they’re also warning signs. The good news is that with the right approach, you can remove water stains from walls and prevent future damage. By taking the time to identify the cause, dry out the wall, use the right cleaning techniques, and seal it all in with primer and paint, you won’t just remove water stains from walls, you’ll be protecting your home down the line.
Professional Help in Vancouver: Revive Restoration
If you’re in Vancouver and dealing with water damage, stains, or any signs of leaks in your home, Revive Restoration is one of the trusted names. We specialize in bringing homes back to life after water, fire, or mold damage, and we do it with care and professionalism. Whether it’s a small ceiling stain or a full-scale basement flood, our experienced team knows exactly what to do. If your walls are showing signs of water damage and you’re not sure where to start, don’t wait; reach out to Revive Restoration today.


